
Commercial Editing Workflow: A $100K Spot From Bid to Delivery in 6 Days
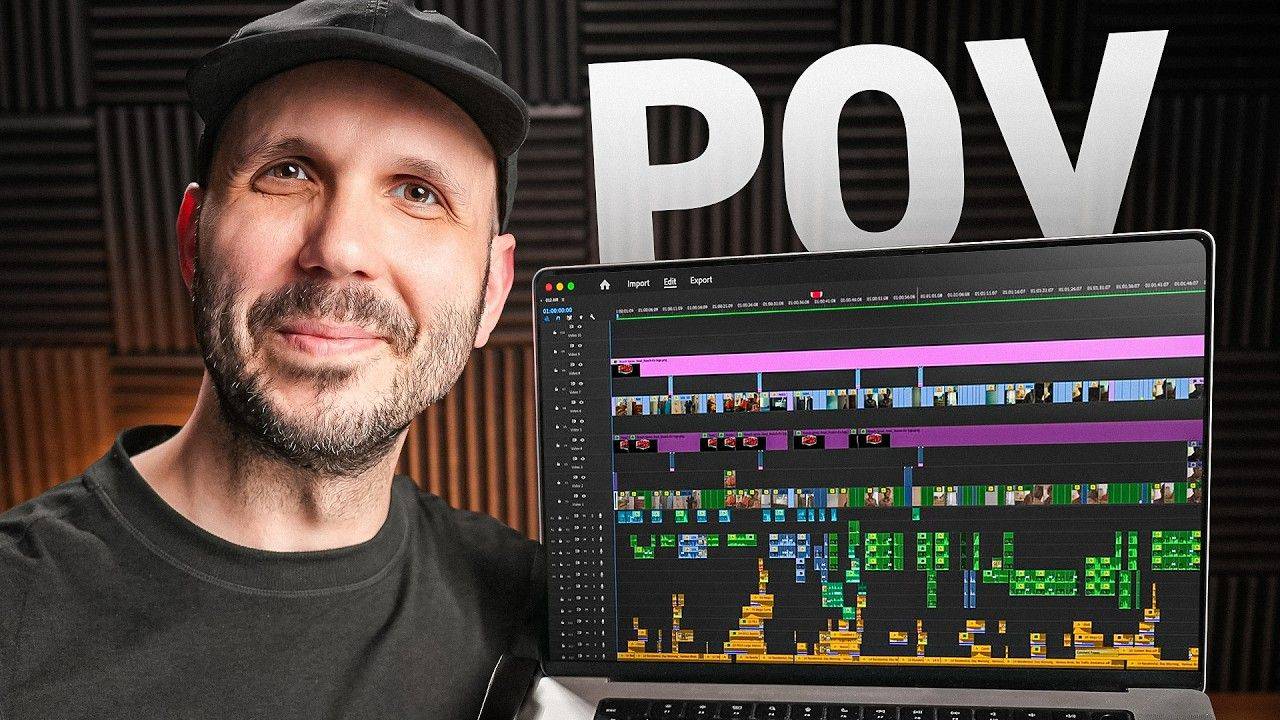
What does it take to edit a $100K commercial from bid to delivery?
I just edited a $100,000 TV commercial in six days of editing, and the gap between my world and yours is smaller than you think. Here's the order it went in: win the job and send a bid, map the emotion and story, build a stringout and a rough cut, try versions with the director, cut in the voices, cut in facial capture and animation, then finish and deliver to the client's spec sheet.
Day zero: how I got the job
If you believe internet comments, every editing client is terrible. Low pay, never-ending revisions, and no creative trust. That's a lie. Great clients are out there. You just have to know how to find them, how to speak to them and how to build trust with them. Once you have great clients, your editing career goes on easy mode.
Here's how I got this one. Scott Rice, a veteran commercial director I work with, emailed me the script and the timeline and asked if I wanted the job. The script was a comedy, which is in my lane. A group of dollar bill characters sit in a support group meeting while the moderator tries to show them how to improve their lives. The timeline worked for my schedule too. Two boxes checked.
Then I put together a bid based on similar projects I've done. I charge between $5,000 and $10,000 for a 30-second commercial. Your rate will vary with your location and where you are in your career. The director replied a couple of hours later and said that works.
That was it. No cold email that never gets an answer. No free test edit. No competing against other editors. That's what years of building trust with great clients does.
If you want help finding clients like this, so you can stop competing for low-paying jobs with people who don't trust you creatively, grab my free Editing Career Mastery Guide. It's the exact system to go from an underpaid, overworked editor to a highly paid, in-demand specialist.
Day one: map it, string it out, then build a rough cut that sucks
Early in my career, I'd get so excited about new footage that I skipped preparing to edit. That always came back to bite me later.
Now I start with a step that doesn't even touch my editing software. I build what I call an emotion and story map: the story beats on one side, and the emotion I want the audience to feel on the other.
Then I organize all the media into a stringout. Every shot and take is in story order, so I can move through it without hunting. I can't stress this step enough.
Next, I play the stringout on my 46-inch OLED TV and watch it start to finish with no distractions. When a shot or a performance sparks emotion in me, I write it down. As the editor, you're the first audience member, so your first impressions matter. Knowing your footage like the back of your hand pays off later, especially when you're editing live with a director, an ad agency or a client.
In the second half of day one, I built a rough cut. It sucked.
Why I let the first cut suck
That might sound self-defeating, but admitting rough cuts suck has been a key mindset shift for me. If you're a perfectionist like me, a blank timeline can feel paralyzing. Or worse, you re-edit the first few shots over and over, then throw the rest together in a few minutes because of the deadline.
Now I accept that the first cut will be the worst version of the edit I ever make. The creative exploration with my collaborators, and refining the cut over many revisions, is what makes it great. I go deeper on this in why your rough cuts should stay rough.
Even so, I get the big stuff right in my first cut, because I have my emotion and story map and I know the footage. So it lands in the ballpark of what the director and client were expecting, which is so important.
For the cut itself, I use the pancake timeline method. I drag my favorite takes from the stringout into a rough cut sequence. This spot had a big challenge, though. The main character's chair was empty, because he'd be 3D animated later. So the rough cut had to lean on temporary voice-over and sound design to sell the story.
Then I sent it to the director on Frame.io for feedback.
Day two: director notes and creative versions
If the word feedback gives you flashbacks to low-paying clients with endless notes that don't make sense, I get it. I've been there. But with great clients who are true creative collaborators, this is the best part of editing.
It can feel like improv comedy. The director throws out an idea and I say, "Yes, and what about this?" Or I throw out an idea and he says, "Yeah, and what about this?" We did a lot of that on this spot.
On day two, I finished the director's notes, then made more creative explorations. My one rough cut turned into four versions of the spot, each one a different take on what worked best for the comedy. All four went up on Frame.io so we could review them. Here's how I handle notes like these in my four stages of client feedback.
Day three: cutting in the voice performances
Day three came a bit later, because the director and the client had to cast and record the voice talent.
Once the voices came in, there was a whole new layer of editing. I organized and listened to every take, picked my favorites and shared them with the director. Just like the last pass, that sparked a bunch of new ideas and new versions. I refined the rhythm, sound design and pacing, then posted the versions on Frame.io for client review.
Day four: facial capture and a crowd of 3D characters
With the voices locked, we moved to the visuals. The director acted out the parts while our animator recorded his movements with facial capture software.
When those files came in, I was back for another editing pass. I organized, reviewed and cut in the facial capture, chose the best performances, explored alternate options and kept hunting for the comedy before the spot went off for final animation.
Some shots were tough because of how many 3D characters were in them. One shot had so many bills in the scene that I had to choose the best performance for each one and place them in. Then I refined the rhythm, sound design and pacing of the whole spot, and the director and I posted a couple of solid options for the client to choose from.
Day five: cutting in the animation
As soon as the client picked their favorite version, I prepped all the files for our animator. Day five was split into short sessions over a week or two, as new shots came in. I cut in each animation pass and posted it on Frame.io for client approval.
On a spot like this, it's a magical time. Watching everything come together is rewarding and fun.
Day six: final approval and delivery
After a few little tweaks, we got final approval. That meant it was time to finish and deliver.
On jobs like this, I get to work with a post-production team where the colorist does color and the sound mixer does the mix. Earlier in my career, I was a one-man band slogging through every part of the process with no help.
I sent a final proof to the director and the client, and they were both ecstatic. Then I followed the client's spec sheet to prep files for broadcast TV, web and social. I also always make a master of the spot in ProRes 4444 for the archive. Everything gets delivered on Frame.io. For this one spot, the folder hit 45 files. If you want the full picture of that last step, here's how I deliver client projects.
Learn this workflow on real projects
If this is how you want to work, I teach this workflow in Edit Like A Broadcast Pro, my editing mentorship. You'll create emotionally impactful edits on high-end projects for your showreel, with direct feedback from me, so you can win serious clients with real budgets.
