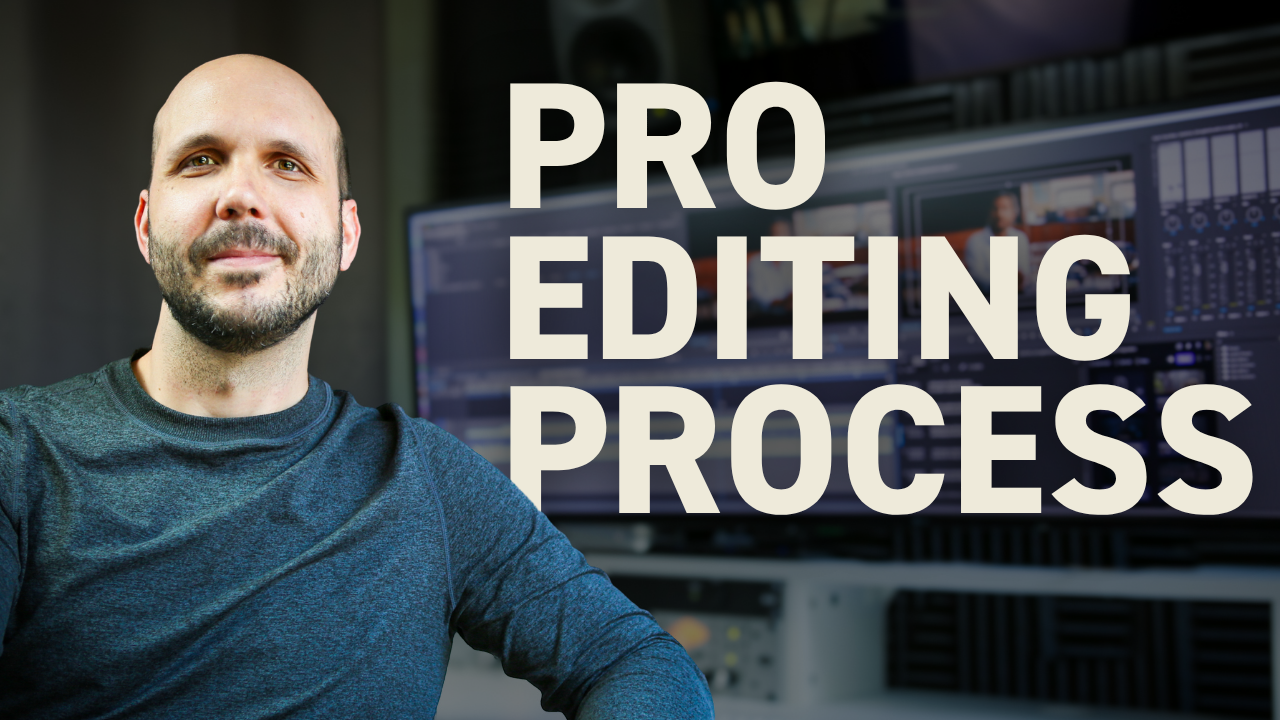
How to Practice Video Editing Like a Professional Editor
How do you practice video editing to improve your professional skills?
Practice video editing by following a structured 6-step process: define your target emotion, craft a clear story, select your best clips deliberately, arrange shots for progression, set rhythm to support emotion, and choose sound strategically.
Don't download another stock transition, footage overlay, light leak collection, or motion graphics template until you've mastered your editing fundamentals. I've been a pro editor for over 20 years, and the truth is that flashy elements won't save weak fundamentals.
Think about it like this: imagine you're a pro basketball player and it's your first day of practice. Do you think the coach says, "Hey everybody, line up, we're going to practice our 360 dunks"? No. He's probably going to say, "Line up, and everybody's going to shoot 100 free throws, 100 mid-range jumpers, and 100 corner threes."
Dunks look great in the game, but you win or lose based on how well you execute your fundamentals. It's the same with editing — and today we're going to practice the mid-range jumpers of editing.
The Complete Video Editing Practice Exercise
Here's a structured exercise I use to sharpen editing fundamentals. For this example, I'll use a footage collection called "Baker's Day" from Artlist, but you can apply this process to any footage collection.
The assignment is simple: create a 30 to 60-second edit using the provided footage. But the real value comes from following this exact step-by-step process.
Step 1: Define Your Target Emotion
Start with the most important thing: emotion. What do you want the audience to feel?
This step can be simple, but I can't overstate its importance. There are countless ways you could put together a scene using these clips. That's why you need a North Star, so you can edit with intent.
When you share your work with someone, the last thing you want to hear them say is, "I'm not sure what you are going for here" — and that happens all too often. So decide how you want the audience to feel and then make all of your other editing decisions to support that.
Step 2: Craft Your Story Structure
Look through all the clips and decide what story you want to tell. This will be a pretty simple story, but I would encourage you to make sure it has a clear beginning, middle, and end.
The story doesn't need to be complex. Even a simple progression like "preparation → work → completion" gives your edit direction and purpose.
Step 3: Select Your Best Clips Deliberately
The next step may be the most boring of all but also one of the most crucial. There are 43 clips in this collection and I want you to watch through all of them and pick the very best shots that tell your story and strike the emotion you're going for.
The trick is you have 43 clips but only 30 to 60 seconds. We're always confronted with choices as editors, and one of the main functions of editing is to make the right choices. So this is a skill that needs to be practiced and refined.
Spend time here and don't rush it. Watch all the footage carefully — maybe on your first pass you just take notes, and on the second pass you refine it down to the shots that tell your story best.
One reason professional video editors cut out good shots is because they understand that every shot must serve the larger purpose.
If you want to learn more systematic ways to approach this selection process, you can download my Think Like A Broadcast Editor guide to discover the 5 criteria top editors use to craft emotionally-impactful edits.
Step 4: Arrange Shots for Story Progression
Now that you have an overall story structure and your clips selected, it's all about the story progressing from shot to shot. Shot order is so important, and it's one of those boring fundamentals that we need to be practicing over and over and over.
Each shot should naturally lead to the next, creating momentum that carries your audience through the story.
Step 5: Set Rhythm to Support Emotion
Think about rhythm. What pace is best for the emotion you're targeting and the story you're trying to tell?
Let's say you're planning a 60-second edit: are you going to use ten six-second shots, 20 three-second shots, or maybe 30 two-second shots? Or more likely, a mixture of all three.
There are almost infinite possibilities of what you can do here, so feel free to experiment and remember, make sure it's serving the emotion and story.
Step 6: Choose Sound Strategically
What role will the soundtrack play in your edit? Will it have music, will it have sound design, or perhaps both? Will it be a quiet, meditative piece or a loud, energetic piece?
For this exercise, any sound effect or music track from your available library is fair game, so you have thousands of options. Again, our job as editors is to make the right choice, so this is something we have to keep practicing over and over.
And like a coach telling you to keep perfecting your shooting form, I'm going to keep saying: turn to your North Star. What emotion are you trying to convey? What story are you trying to tell?
Master Your In and Out Points
Finally, action. What are the in and out points for every shot? I like to think about it like this: I cut in at the beginning of an action and I cut out at the end of an action.
It sounds simple, but once you get into it, the possibilities are endless. For every in and out point you set, I want you to consider it in the context of all the criteria you've thought about so far: emotion, story, rhythm, and sound.
So take your time and be deliberate with every in and out point.
My Results from This Exercise
Here's what I came up with. The emotion I was targeting was "impressed." I wanted the audience to feel impressed by the baker's skill and speed.
I decided I wanted to tell a linear story: the baker preps his area, kneads the dough, bakes the bread, and then gets ready to sell it. Pretty simple.
Because I wanted the baker to seem impressive, I decided to cut things pretty fast. My full piece ended up being 34 seconds long and I used 13 shots, so that averages out to about 2.5 seconds per shot.
For sound, I decided to make my piece music-driven and I found a really cool percussion track. Here's a quick tip: I picked a music track that had stems available. That means that each instrument is isolated on its own track, giving you a lot of flexibility.
In order to take my audience on a little bit more of a journey in this 30 seconds, I brought certain instruments in and out at different times to add interest.
Your Editing Fundamentals Checklist
I hope the next time you're about to reach for another flashy element to add to your edit, this will inspire you to check your fundamentals:
- Did you have a target emotion or multiple emotions that you were striving to hit from the beginning?
- Did you have a story in mind?
- Did you take your time watching all the footage?
- Did you pick the very best clips?
- Were you deliberate about shot order?
- Did the rhythm add to the emotion and the story?
- Did you take your time selecting the best music and sound effects for your soundtrack?
- Were you deliberate with all of your in and out points?
Are these as fun as 360 dunks? No. But these are the things that will take your edits to the next level over the long term.
If you want to take your editing skills even further, check out my Edit Like A Broadcast Pro course where you'll learn to create emotionally-impactful edits that win serious clients with real budgets.
