How to make smooth edits using J-cuts in dialogue scenes
How do you make smooth edits in dialogue scenes?
Use J-cuts to create smooth dialogue transitions by bringing the audio from the next shot under the current video. This technique adds forward momentum while maintaining the emotional flow of the conversation.
The foundation: making hard cuts work
Before diving into advanced techniques, your hard cuts need to be solid. A hard cut works when both video and audio change simultaneously — it's punchy and direct.
Two things make hard cuts smoother. First, watch for ambience shifts in your soundtrack. You can fix this with consistent room tone spanning both shots or by adding ambience that bridges the cut. Second, make your hard cut precise. You might need to cut out a breath or movement to make the transition crisp.
The 5 questions that guide every edit decision
The J-cut technique means nothing without the right context. Over my 20-year career, I've relied on five questions for every edit, in order of importance:
- What is the emotion of the scene?
- What is the story of the scene?
- What is the rhythm of the scene?
- What is the sound of the shot?
- What is the action of the shot?
The first three come from film editor Walter Murch's six editing criteria. The last two are my own additions. How professional video editors approach sound in every shot breaks down why these audio considerations matter so much.
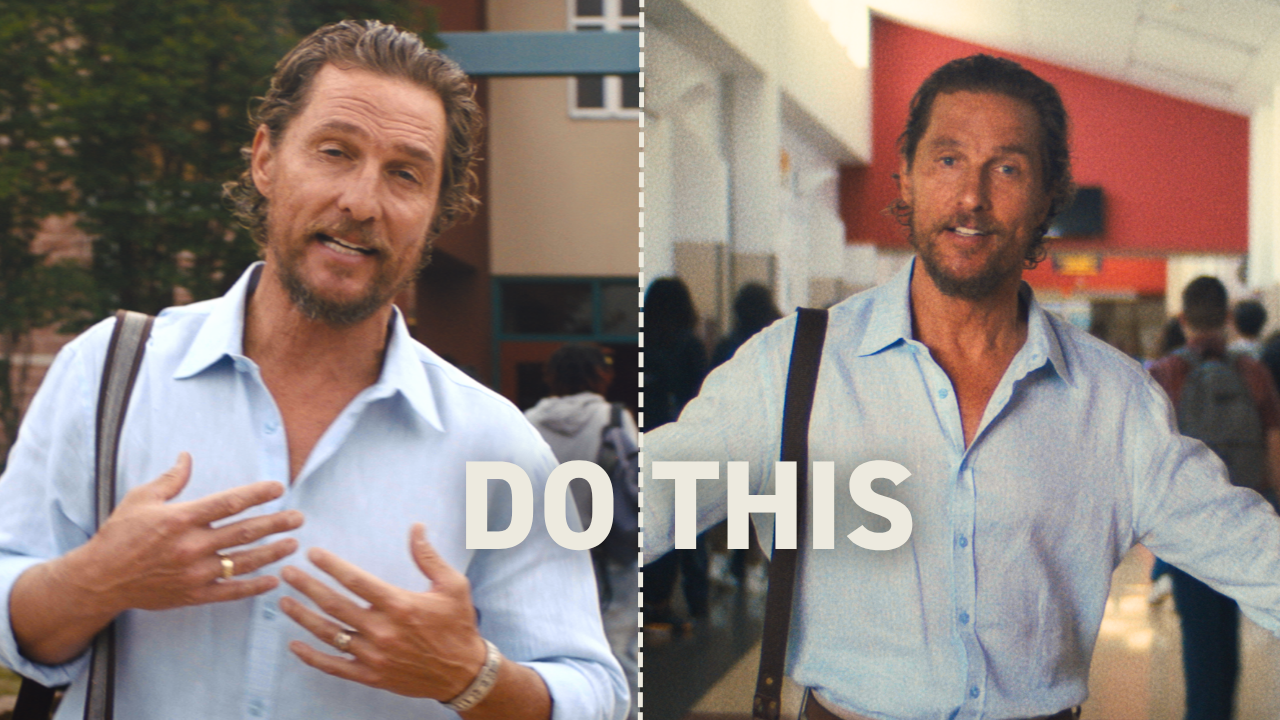
Let me show you how I answered these questions for a recent Matthew McConaughey edit.
What is the emotion? Confidence. Matthew feels like an authority sharing something important.
What is the story? We want to move forward — Matthew needs to get this information out.
What is the rhythm? Matthew and the camera established a nice rhythm in the opening that I want to maintain.
What is the sound? I'm hearing birds that I added, plus school kids talking that adds to the story.
What is the action? The out-point shows his mouth closing. The in-point shows the camera moving up stairs and revealing Matthew.
Using J-cuts to create forward momentum
Here's where the J-cut technique comes in. In the first shot, Matthew turns his head after his line. Instead of adding time there, I brought in audio from the next shot early.
This creates a J-cut — it looks like the letter J in your timeline because the audio extends past the video cut point.
Think Like A Broadcast Editor guide shows you the exact criteria I use to make these decisions faster.
Why does this work? The J-cut tells the story of Matthew entering the school and adds forward thrust to the rhythm. The dialogue flows naturally while the visuals transition smoothly.
The original hard cut worked fine. But the J-cut answered my five questions better — it maintained the confidence, moved the story forward, kept the rhythm, preserved the sound design, and connected the camera movement more elegantly.
When to choose J-cuts over hard cuts
J-cuts excel in dialogue scenes where you want to maintain conversational flow. They're particularly valuable when:
- The speaker's reaction or movement adds to the story
- You need to bridge different camera positions smoothly
- The rhythm calls for forward momentum rather than punctuation
- The audio from the next shot enhances the current moment
The technique isn't automatically better than a hard cut. It's simply another tool that might better answer your five questions.
Ask the right questions first, then select the technique that provides the best answer. Professional video editors think about emotion first in every decision — technique follows purpose, never the other way around.
Master these fundamentals and you'll create smoother edits that serve the story. The Edit Like A Broadcast Pro course teaches the complete system I use to make these decisions instinctively on high-end projects.
