How to sound design a commercial like a professional editor
How do professional editors approach sound design for commercials?
Professional editors create two versions simultaneously while working with ambience first, then build layers of specific sound effects using precise search techniques and subframe editing for perfect timing.
Sound design separates amateur work from professional commercials. The difference isn't just better sounds — it's a systematic approach that starts with ambience and builds layers methodically.
Start with ambience, not individual sounds
Most editors jump straight to obvious sounds — the button press, the crash, the impact. That's backwards.
Professional sound design starts with the world your scene lives in. Look at your footage and ask: what does this place sound like when nothing dramatic is happening?
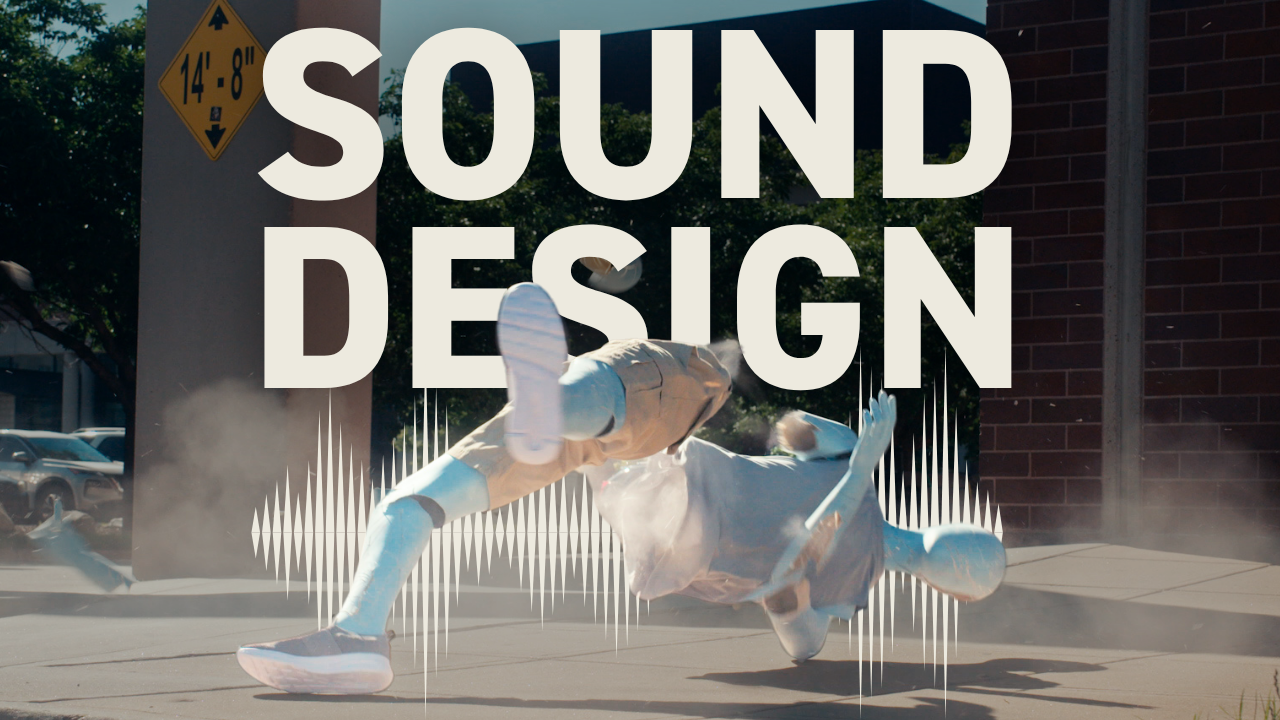
In this car crash PSA, the shots show a downtown area from above. Empty streets, but you can see cars in the distance. That calls for "city street ambience" — not busy traffic, but the subtle urban hum that grounds everything else.
I also considered "light wind" as an alternative base layer. The choice depends on the mood you want. Wind feels more isolated and dramatic. City ambience feels more real-world.
Get your ambience track down first. Everything else builds on top of it.
Create two versions simultaneously
Here's something I don't see other editors doing: I copy all my clips and create two distinct versions at the same time.
This isn't about having a backup. It's about exploring different creative directions without commitment paralysis. One version might use subtle, realistic sounds. The other might go bigger and more stylized.
You can combine the best elements from both versions later, or send both to your collaborator for feedback. Either way, you're not locked into your first instinct.
Think Like A Broadcast Editor: Discover The 5 Criteria Top Editors Use To Craft Emotionally-Impactful Edits — the same approach that improves your sound design will transform how you approach every edit decision.
Search beyond the obvious
The button press was easy — search "button," find button sounds. But sound design gets interesting when you think beyond literal matches.
When the crash test apparatus activates, I didn't search for "crash test machine." I searched "hydraulic" because that's what the movement sounded like. The perfect sound might have nothing to do with what you're seeing.
For the dummy flying through the air, I tried "wind gust" and "object moving." But then I thought about what else moves through air with fabric — flags. Searching "flag" gave me exactly the wind-on-fabric sound I needed.
The debris after impact? I could have searched "dummy parts" or "plastic breaking." Instead I searched "debris" and found sounds that matched the visual without getting too literal about the source.
Your search terms should describe the feeling or quality of the sound, not just the object making it.
Layer sounds for complexity
Professional sound design isn't one perfect sound per visual element. It's multiple sounds working together.
For the crash sequence, I layered:
- The main impact sound
- A body fall sound mixed underneath for low-end weight
- Debris sounds for the scatter after impact
- On the second angle, glass breaking for extra texture
Each sound handles a different frequency range or timing. The impact gives you the initial hit. The body fall adds weight and depth. The debris extends the moment. The glass adds high-end sparkle.
Most editors use one crash sound and wonder why it sounds thin. Professional sound design builds dimension through layering.
Use subframe editing for precise timing
This is the tip I mentioned that you don't see everywhere: turn on subframe editing for sound effects placement.
In Premiere, I have a hotkey that switches my timeline to show subframes instead of full frames. Instead of moving sounds one frame at a time, I can place them with millisecond precision.
This matters most for impacts and sync points. When that dummy hits the barrier, the sound needs to be exactly on the moment of contact — not one frame early or late. Subframe editing lets me zoom in further than normal and get the timing perfect.
These tiny adjustments add up. The difference between professional and amateur sound design often comes down to this level of precision.
Professional sound design workflow breakdown
Here's my complete process:
Start with ambience that establishes your scene's world. Download and place this first as your foundation.
Work through your footage chronologically, identifying each element that needs sound. Don't just look for obvious moments — think about subtle movements, air displacement, material interactions.
For each element, try multiple search approaches. Start literal, then get creative. Download several options before committing to one.
Build your soundscape in layers, not single sounds per element. Each visual moment might need 2-3 different sounds handling different aspects of the action.
Use subframe editing for precise placement, especially on impacts and sync points where timing is critical.
Create two versions if you have time. It's easier to explore different creative directions when you're not committed to one approach.
The goal isn't just to make your footage less quiet. Professional sound design makes your visuals more believable and emotionally engaging. When viewers don't notice the sound design, you've done it right.
The same systematic approach that makes your sound design professional applies to how professional video editors approach every creative decision — start with the emotional foundation, then build the technical layers.
Edit Like A Broadcast Pro: Create Emotionally-Impactful Edits That Win Serious Clients With Real Budgets — master the complete professional editing workflow that makes your sound design part of a larger storytelling system.
